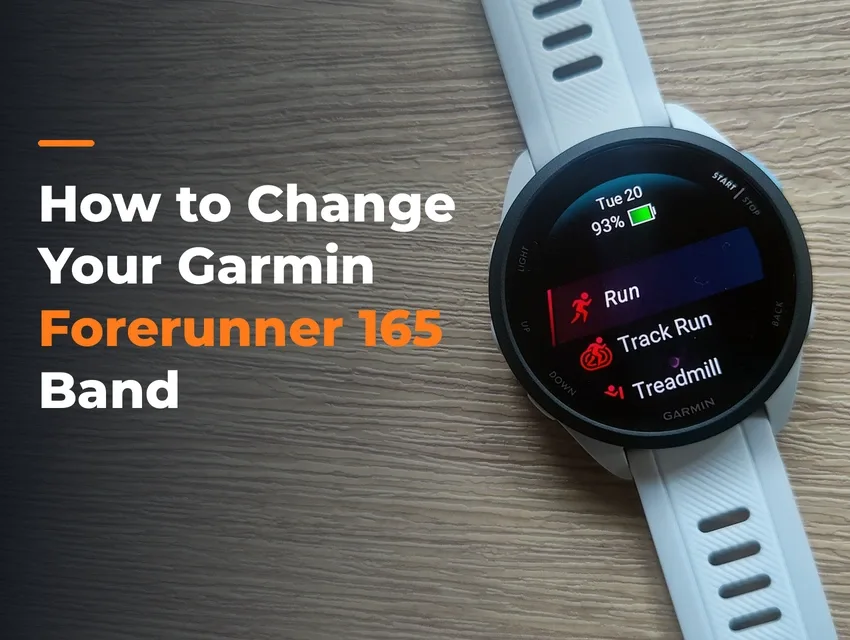
Ordering the wrong strap is where most Forerunner 165 owners get stuck. It’s easy to swap out once you know what you’re looking for. This post will teach you how to change Garmin Forerunner 165 band in seconds
Garmin uses two connector types, and if you order the wrong one, your new band won’t fit. The Forerunner 165 uses a 20mm quick-release band, not Garmin’s proprietary QuickFit connector. Plenty of Garmin models, like the Fenix 8 and Instinct 3, use QuickFit straps, so people assume the 165 does too.
When you buy the wrong strap type, the strap won’t attach. Nothing is faulty when that happens; it’s simply the wrong connector. Once you have the right replacement band, swapping it out takes seconds.
Key Takeaways
- The Garmin Forerunner 165 uses standard quick-release connectors for its watch band, not Garmin’s proprietary QuickFit connector.
- Quick-release connectors feature a small lever that lets you swap out your band without a tool.
- Bands and keeper loops can wear out over time, so it’s worth knowing the signs that yours needs replacing.
Does the Forerunner 165 Have Interchangeable Bands?
Sometimes, fitness trackers have the bands molded into the case, making changing the strap impossible because the whole unit is one piece. This isn’t the case with the Forerunner 165.
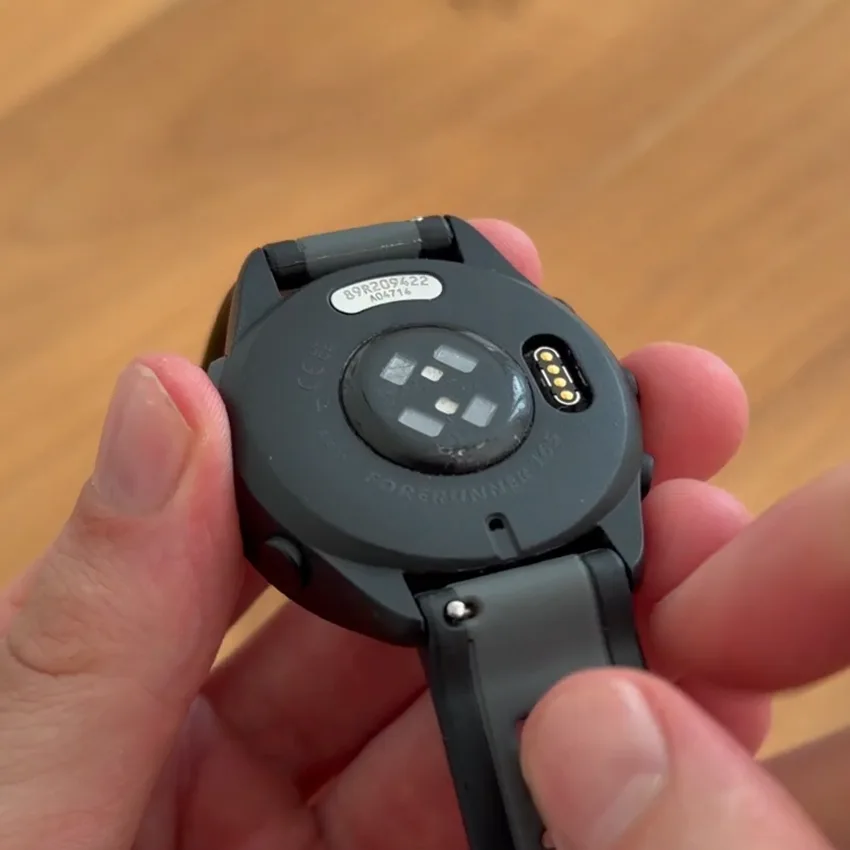
You can swap your band on your Garmin Forerunner 165 in under a minute. It uses two spring bars to attach to either side of the device, the same fitting a traditional watch uses, so any 20mm quick-release band will go on.
Before You Start: Confirm Your Size
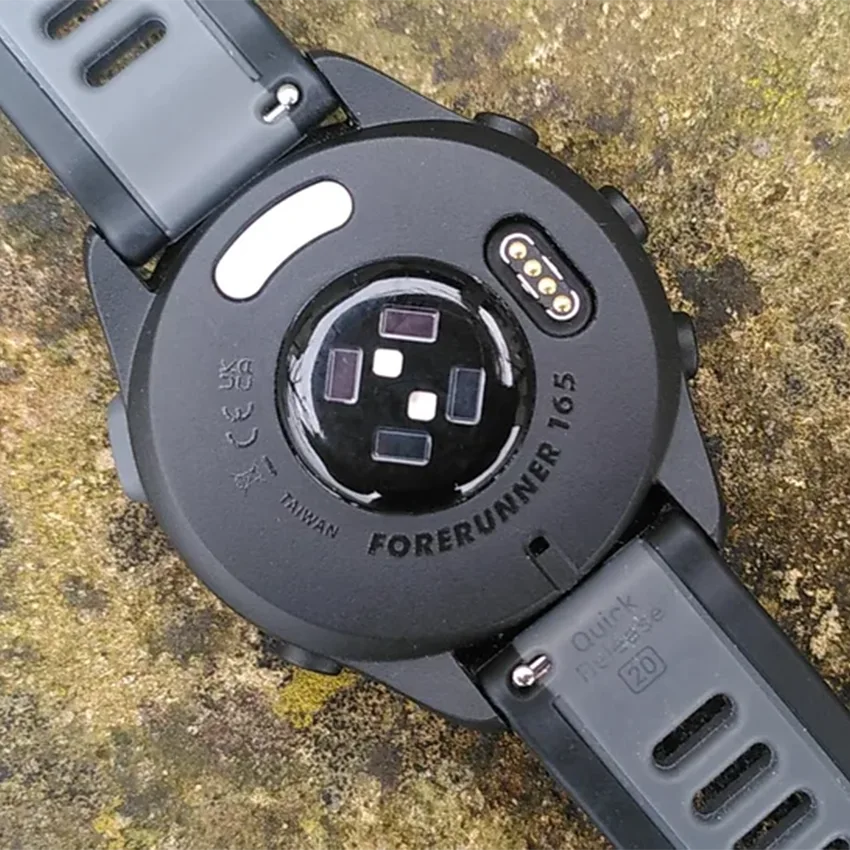
The Forerunner 165 takes 20mm watch straps. That covers the standard model and the 165 Music, so the edition of the watch doesn’t change the sizing.
Don’t mistake this watch for a 22mm model. A 22mm band is too wide to fit between the lugs. The good news is that 20mm is an industry-standard width, so you’re not limited to Garmin’s own range, and the choice is wide.
If you’re in a household with more than one Garmin, sharing watch straps can work, but only if your watches take the same width and connector. Our Garmin lug width and strap size guide covers what every model takes, because the widths vary more across the range than most people expect. You can find your models on the guide, or measure your band manually.
Tools Required
Watch bands that use quick-release don’t require any tools for changing the strap. They have a small lever built into the spring bar, and that’s all you need.
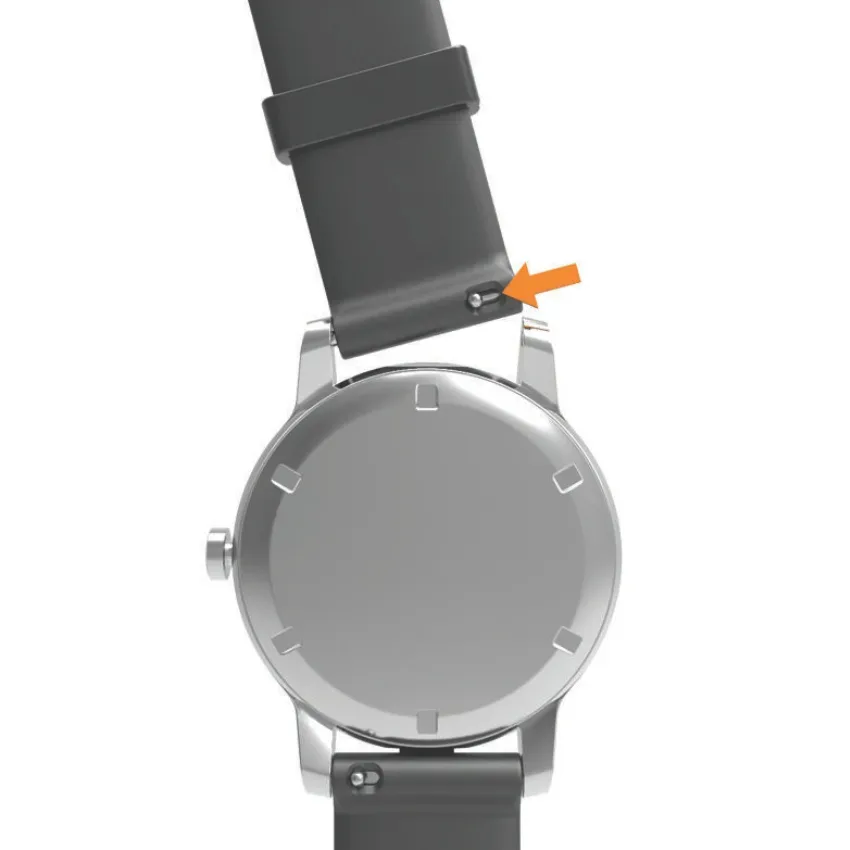
In the rare instance that your band has plain spring bars with no lever, a basic spring bar tool does the job. It’s the inexpensive forked tool that pushes the pin inward so the band slides free. It’s worth a few dollars because the alternative is levering at the pin with something sharp and scratching the lugs.
How to Remove the Forerunner 165 Band
Work over a soft surface, like a folded towel. It keeps the watch from sliding around, protects the screen from scratches, and catches the spring bars if they drop.
- Turn the watch face down so you can see where the band meets the case.
- Find the lever on the underside of the spring bar, near the lug.
- Slide the lever with your finger or nail toward the middle of the band. That pulls the pin back.
- Lift that end of the band away from the lug while the lever is held back.
- Release the lever and repeat on the other side.
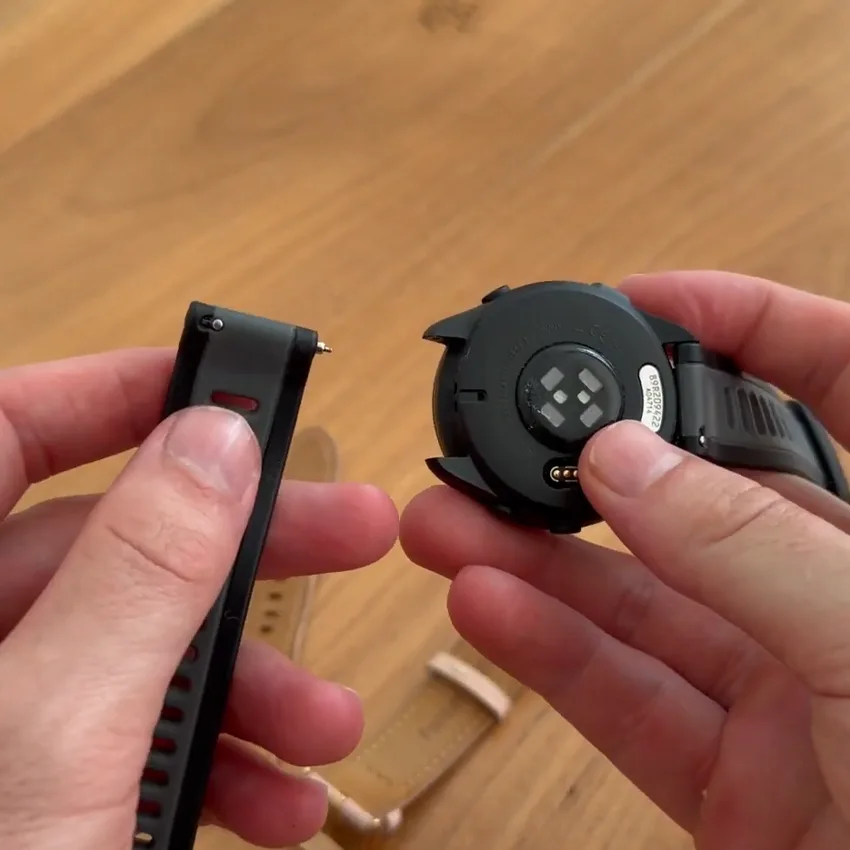
If there’s no lever, slide the forked end of a spring bar tool between the band and the lug, press the pin inward, and lift the band clear. Work slowly so the tool doesn’t slip and mark the case.
How to Install the New Band
Installing a quick-release strap is simple, and these steps work on all quick-release bands.
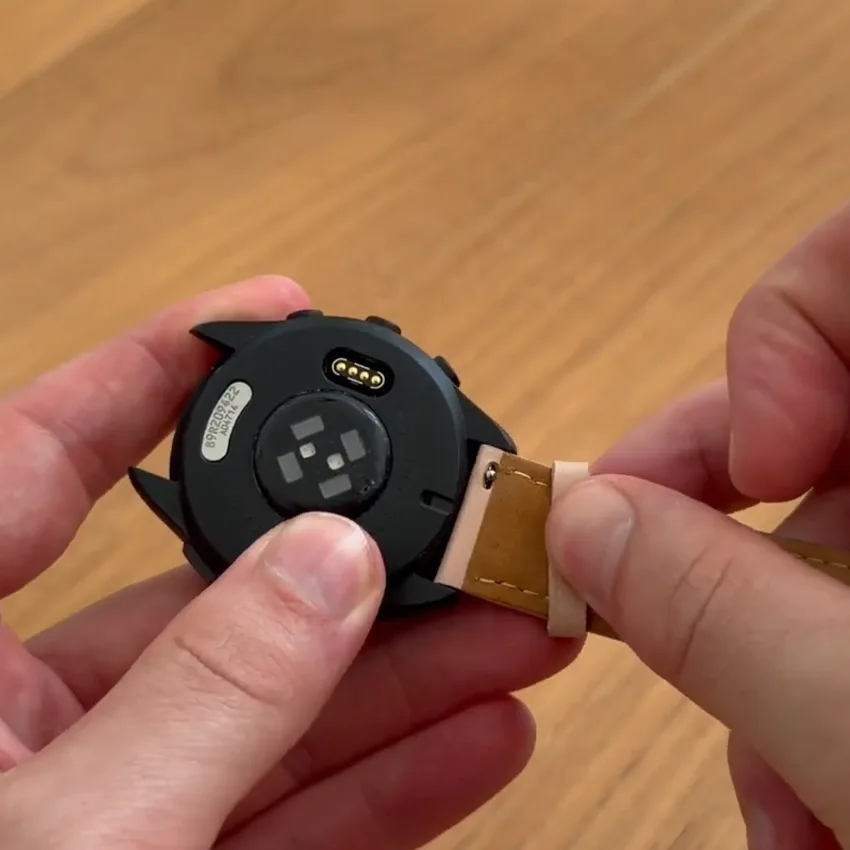
- Check that the band is the right way around. The curve should follow your wrist, and the buckle sits underneath.
- Seat one end of the spring bar into the hole on one lug.
- Slide the lever to pull the other end of the pin back.
- Push the band into the gap between the lugs while holding the pin back.
- Ease the lever back slowly so the pin slides into the lug hole. You’ll often feel or hear a small click, and the band will stop sliding side to side once it’s in.
- Tug both ends firmly before you wear it to ensure that it’s attached properly.
Troubleshooting
These are the most common Forerunner 165 band issues and how to fix them.
The Band Wobbles After Fitting
It’s almost always a pin that hasn’t fully seated. Pull that end out, line the pin up with the hole properly, and release the lever slowly rather than letting it snap. If it still moves once both ends are in, the pin holes have likely widened with wear, and the band needs replacing rather than refitting.
The Lever Is Stiff and Won’t Move
New quick-release bars are often tight. Use a fingernail or the edge of a spring bar tool and apply steady pressure rather than force. The lever is small, and it will bend if you lean on it.
The Band You Ordered Won’t Attach at All
Check the connector rather than the width. If the end is a flat tab instead of a metal bar with a lever, it’s a QuickFit band, and it won’t fit the Forerunner 165.
The Band Keeper
The keeper is the small loop that holds the loose tail of the band flat against your wrist. It gets almost no attention until it fails, and on a running watch it often fails first.
The keeper is the thinnest part of the whole band, it flexes every time you tighten the strap, and it sits right where sweat collects. The band itself can look fine for another year while the keeper has already stretched out. It’s one of the most common ways Garmin bands break, and it’s easy to overlook.
You’ll notice it in one of three ways. The tail starts flapping loose and catches on a sleeve. The loop slides down toward the buckle instead of staying put. Or it splits at the seam, which is the end of it.
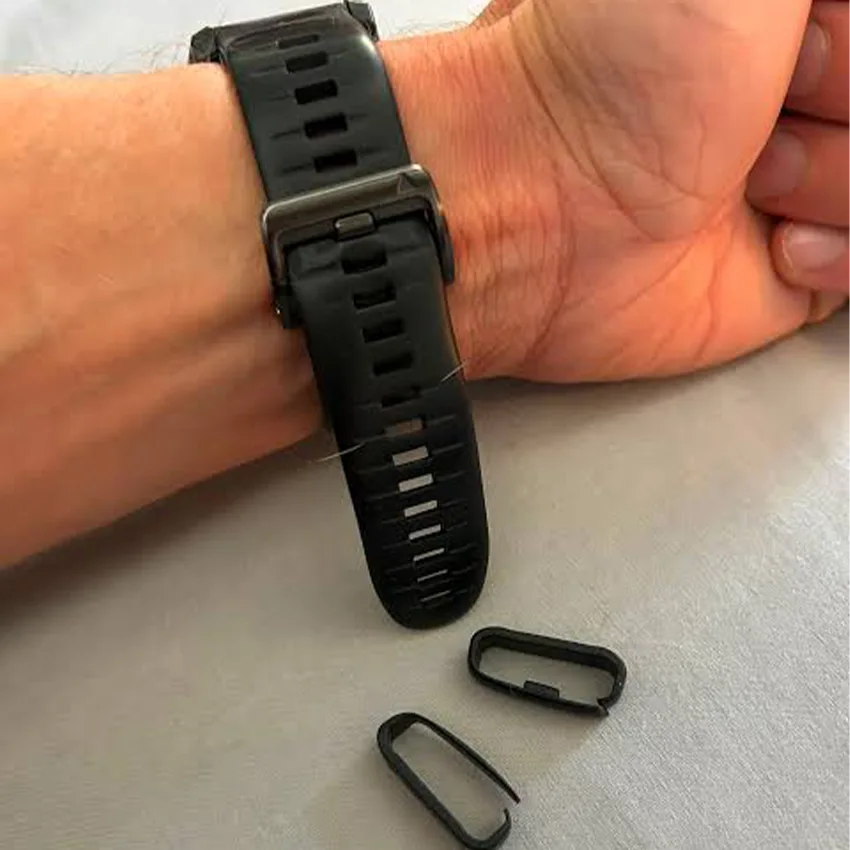
A stretched keeper is worth dealing with rather than living with, because a loose tail catches on things, and a flapping strap end is what works a band loose over a long run. If the keeper has gone but the band is otherwise sound, check whether the keeper slides off, because a separate loop can sometimes be replaced on its own.
Keeper tip: When you put a new band on, thread the tail through the keeper before you buckle it, not after. Doing it the other way stretches the loop every single time, which can wear it out early.
When to Replace Rather Than Repair
Sometimes watch straps become dirty, start to smell, or cause skin irritation. Most of the time, these issues can be solved by removing the strap and rinsing the band under water after a hot session or salt water, and letting it dry before putting it back on. Sweat and grit sitting in the pin holes speed up wear. Every few months, hold the watch and gently move the band side to side. Any wiggling could mean the holes are opening up or the connector is failing, and catching that early is a lot cheaper than losing the watch on a run.
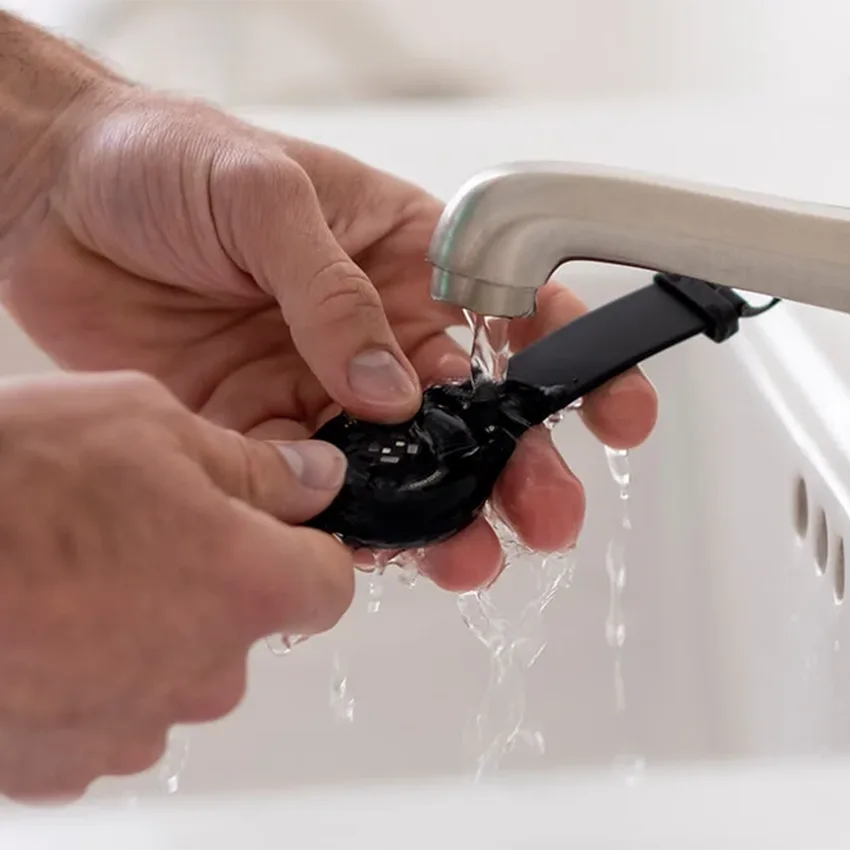
Replace the band when the material goes tacky or splits, when the holes have stretched enough that it never sits in the same place twice, or when it rocks at the lugs even after a correct refit.
Where to Get a Replacement Band
Standard 20mm quick-release bands are widely used and readily available, which means you aren’t stuck with what came in the box or with Garmin’s own range.
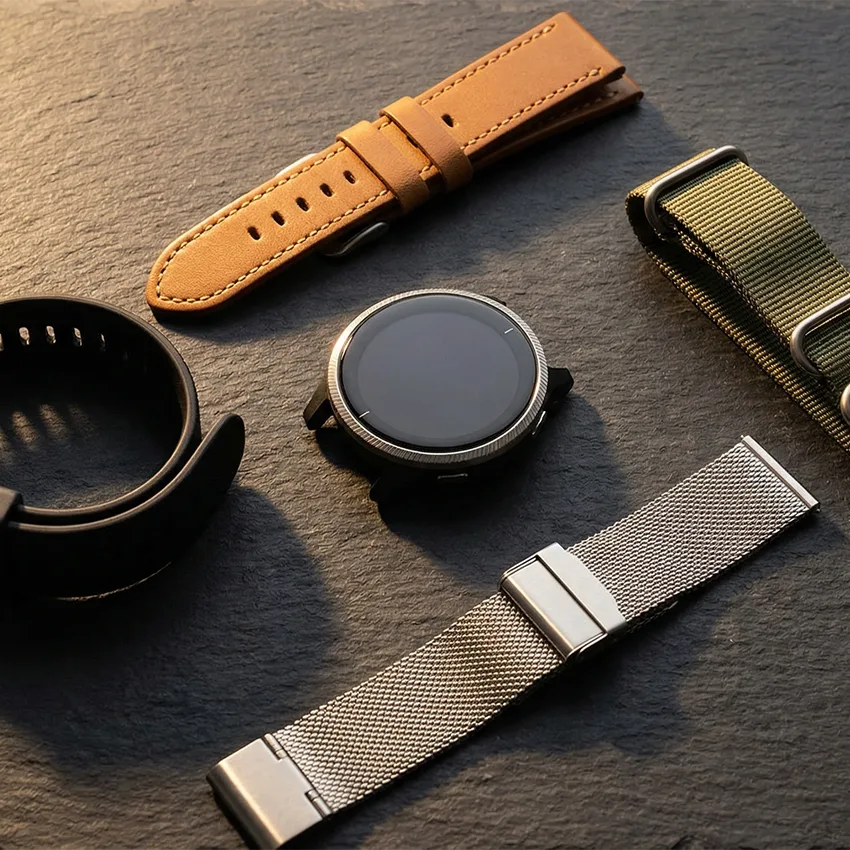
Your watch band should suit your lifestyle and follow how you actually wear the watch. Silicone and FKM, or fluoroelastomer, handle sweat and rinse clean under water, so they suit daily training. Nylon is light and breathes well in heat, and it wicks sweat away from your skin, though it takes longer to dry than rubber. Leather looks sharper off the run but doesn’t cope with sweat, so it’s the wrong choice if the watch stays on all day through workouts.
Final Thoughts
The Forerunner 165 is one of the easiest Garmin watches to make your own. It takes a standard 20mm quick-release band, so you can swap straps in under a minute without any tools, and you aren’t limited to Garmin’s own range.
Before you order, check that the listing says 20mm quick-release, not QuickFit. After that, keep an eye on the keeper loop, since it’s often the first part to wear out.
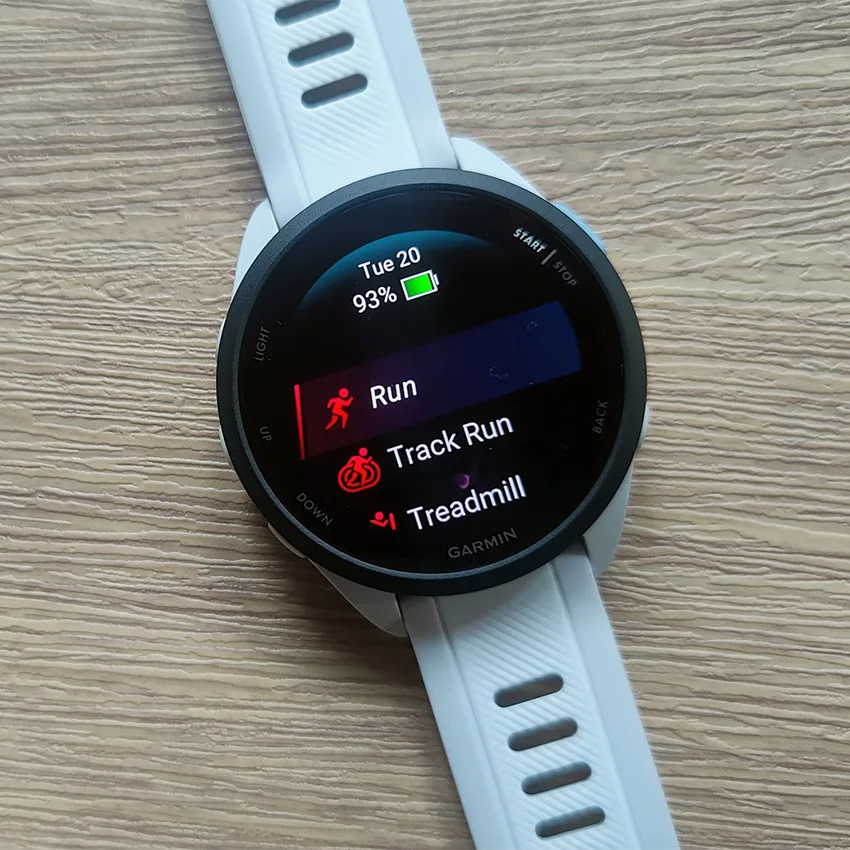
Shopping our Forerunner 165 band range is an easy way to ensure that your new band will fit.
Which band is going on your Forerunner 165 first?
Frequently Asked Questions
Does the Garmin Forerunner 165 have interchangeable bands?
Yes. The Forerunner 165 uses standard spring bars, which means you can change your own band easily. It takes a 20mm quick-release band, and the 165 Music is the same. The only thing to get right is the connector, because a QuickFit band won’t attach even at the correct width.
What size band does the Forerunner 165 take?
The Forerunner 165 takes a 20mm band. That applies to both the standard model and the 165 Music. Because 20mm is a standard size, you’re not limited to Garmin’s own bands. Just make sure the listing says quick-release rather than QuickFit, since those are two different fittings and only one of them works for this device.
How do I change the wrist setting on a Forerunner 165?
The wrist setting can be changed to the left or right wrist in the watch’s settings menu on the device or in the Garmin Connect app. The wrong wrist setting can affect how some sensor readings are recorded, so it’s worth setting when you switch wrists. It’s a separate job from swapping the band, so you don’t need to touch the strap to do it.
Can I replace just the band keeper?
Sometimes, and it depends on the band. The keeper is often a separate loop that can slide off once the band is unbuckled, which means a replacement loop can go on without changing the strap. On some bands the keeper is molded in, and then replacing the band is the only fix. Check whether yours slides free before you go looking for a spare.