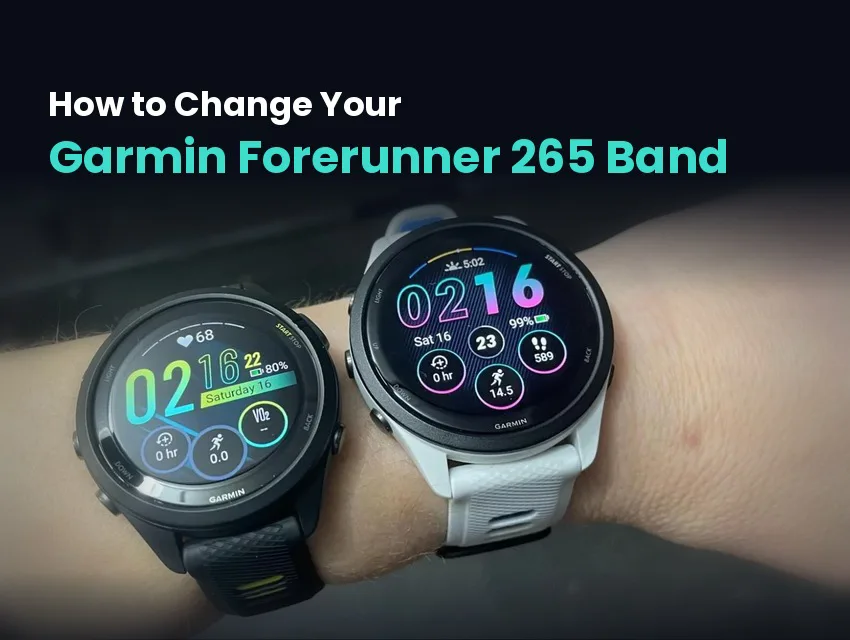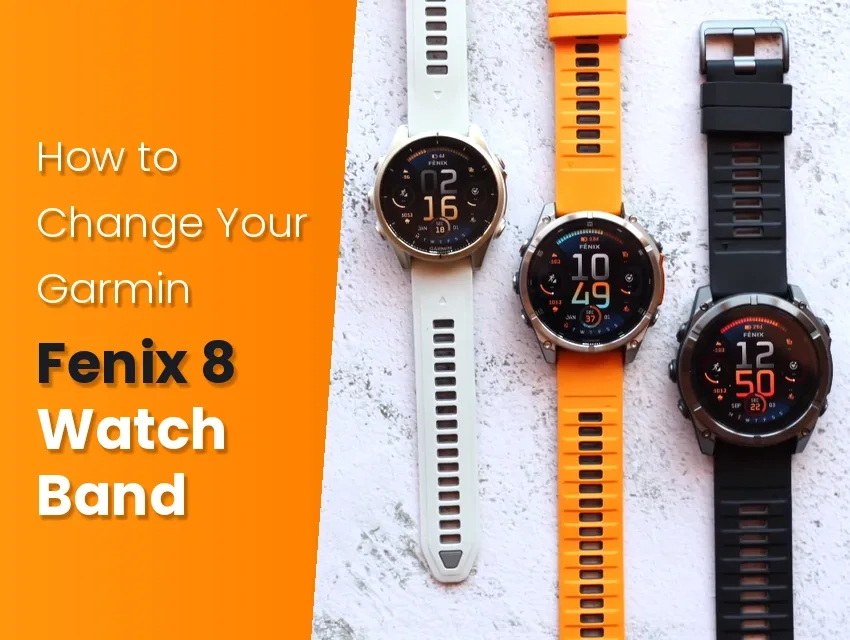
Yes, nearly every Garmin band comes off and swaps in minutes. As long as you can determine your size and what connector system your watch uses, it’s easy to change out your smart watch strap. If you get the wrong connector system, the new strap won’t fit even if it’s the right size.
This guide shows you how to tell the two systems apart, walks you through installation, and points you to a replacement that outlasts the one that wore out.
Key Takeaways
- Almost every Garmin watch band can be replaced, and most swap out in under a minute once you know your system.
- Garmin uses two connector systems: QuickFit, which is tool-free, and quick-release or older spring-bar pins.
- QuickFit and quick-release bands can be changed by hand without tools.
- Third-party bands from StrapsCo fit the same connectors as Garmin original equipment manufacturer (OEM) bands, and they cost far less.
Yes, Garmin Watch Bands Are Replaceable
Garmin builds its watches so owners can change bands at home, and there are many different replacements out there in varying styles and materials. The one thing that changes from model to model is how the band attaches.
| System | How It Comes Off | Tool Needed | Example Models |
|---|---|---|---|
| QuickFit | Click the band off the adapter by hand | None | Fenix 6/7/8, Forerunner 970, Instinct 2/3, Epix |
| Quick-release | Slide the spring-bar lever | Fingernail or spring-bar tool | Some Forerunner, Approach, Venu 2/3, older Instinct models |
| Older spring bar | Push the spring-bar pin in | Spring-bar tool | Forerunner 935, Fenix Chronos, Vivomove |
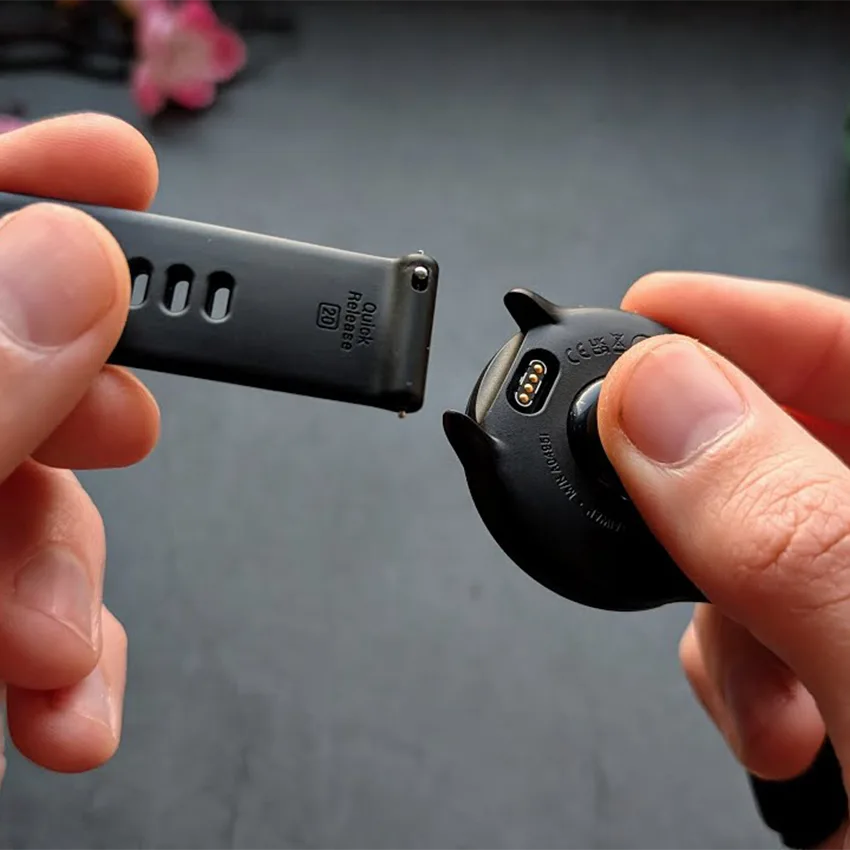
Knowing your system matters before you buy, because a QuickFit band and a spring-bar band aren’t interchangeable.
Non-Replaceable Straps
Almost every Garmin band can be swapped, but a few make it more than a quick change. The main exceptions are the slim vívosmart trackers, including the vívosmart 3, vívosmart 4, and the older vívosmart HR and HR+, where the band is built into the watch body. Replacing one of those is really a repair of the whole unit rather than a simple swap. Most other models that look fixed, including older entry-level Forerunners, actually take a model-specific replacement band. They just skip the tool-free QuickFit and quick-release systems.
Which Band System Your Garmin Uses
You can determine your watch’s connector system by looking at the spot where the band meets the watch case. Many Garmin owners don’t know that the devices use different setups to keep their watch straps in place. Their proprietary QuickFit connector system uses a wide snap-on adapter, while standard quick-release uses a thin spring-bar pin to keep the watch band attached.
QuickFit Bands Click On and Off
- Look for a wide plastic or metal adapter where the band meets the case
- The band snaps onto that adapter with a small lever
- QuickFit comes in 20mm, 22mm, and 26mm widths depending on the model
- If you see an adapter and no spring bar, you’ve got QuickFit
Quick-Release and Spring-Bar Bands Use a Pin
- Look for a thin metal spring bar sitting between the lugs
- A small lever on that bar means quick-release, which slides by hand
- No lever means a standard spring bar that requires a tool
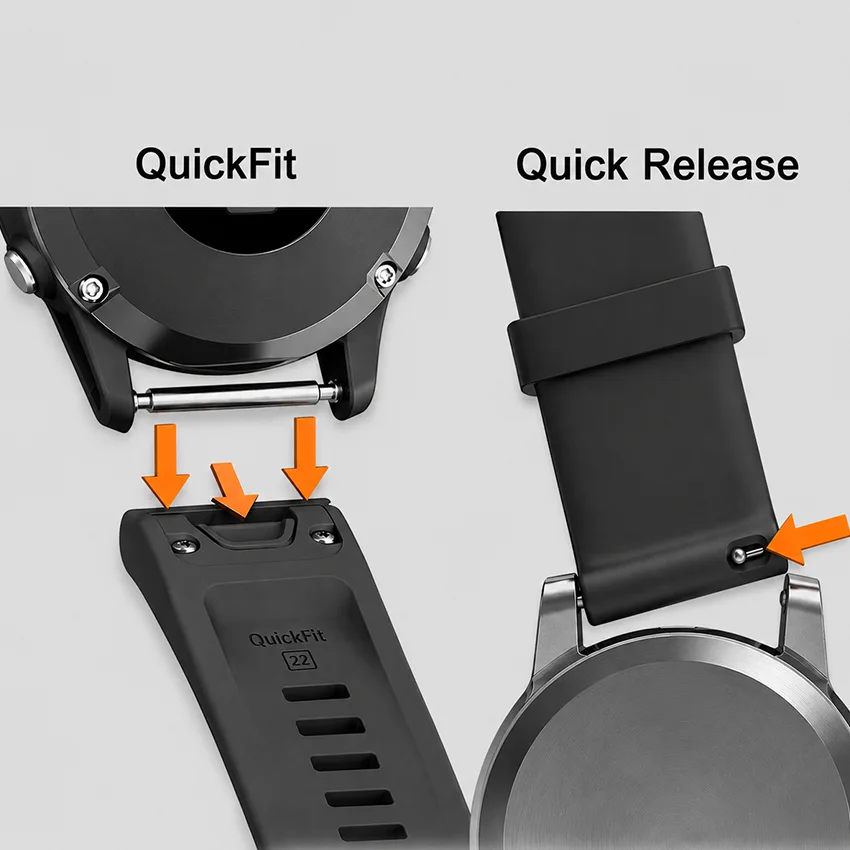
If you’re not sure of your band width once you know the system, confirm your lug width before you order. The wrong system won’t seat at all, and the wrong width won’t fit the lugs either.
Tools You Need to Swap a Garmin Band
What you need comes down to your connector system. Here’s what to keep on hand for each:
For QuickFit Models
- Nothing but your hands
- A soft surface so the case doesn’t pick up a scratch
For Pin Models
- A small spring-bar tool, or a small flathead in a pinch
- A soft surface to work over so a loose pin doesn’t roll away
How to Replace a QuickFit Band
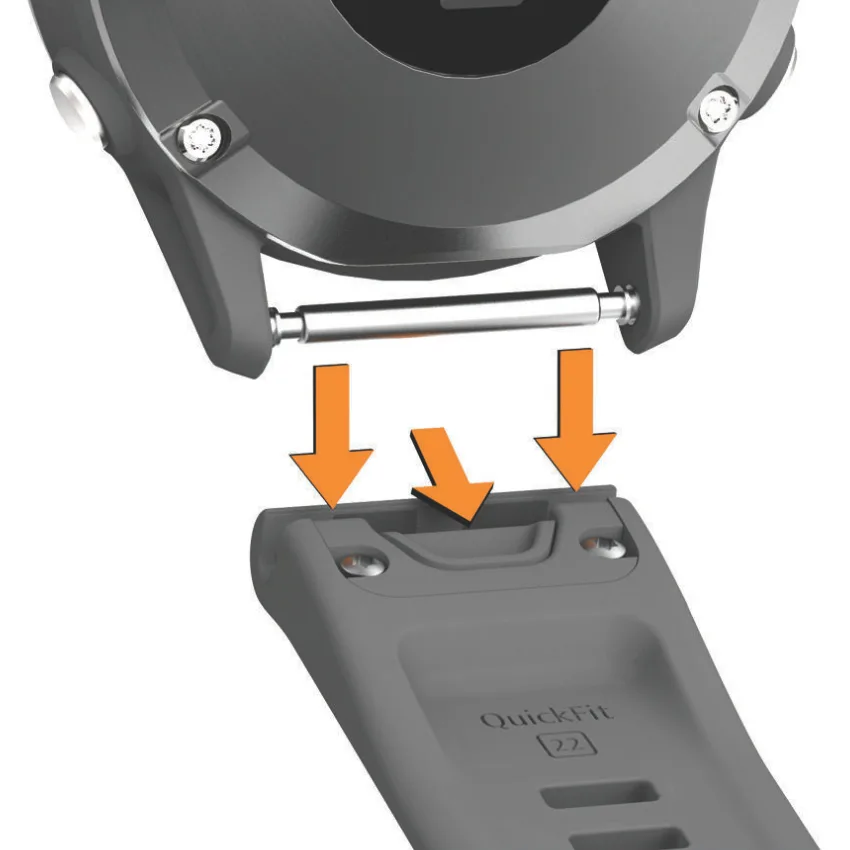
Changing a QuickFit band is tool-free and takes about a minute. The lever-and-lift steps are quick and simple:
Remove the Old QuickFit Band
- Turn the watch face-down on a soft surface so you don’t scratch it
- Find the small lever on the underside of the band
- Slide that lever and lift the band off the adapter
- Repeat on the other side
Install the New QuickFit Band
- Line the new band up with the adapter port
- Press until it clicks into place
- Give it a gentle tug to confirm it’s seated
- Repeat on the second side
How to Replace a Quick-Release or Spring-Bar Band
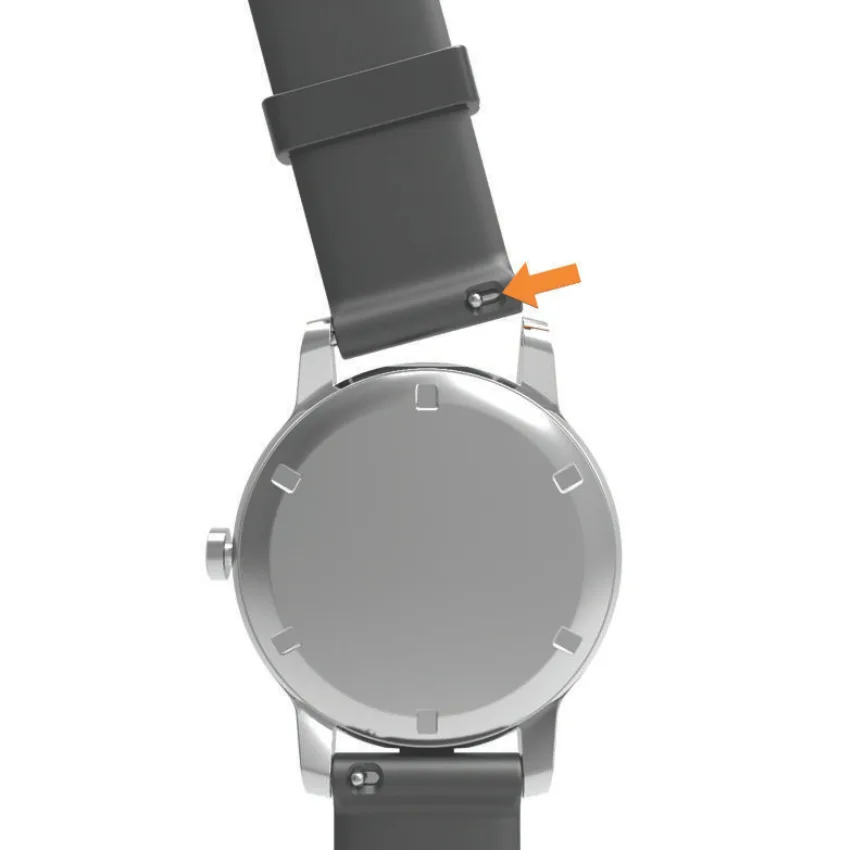
A pin-style swap is simple and can be done with the edge of your finger or nail, or a small spring-bar tool, depending on your model. Quick-release bands have a lever you can move by hand, while older spring-bar bands need the tool to press the pin in. You can also use a spring-bar tool for quick-release connectors to make it easier.
Quick-Release Swap With No Tool
- Slide the small lever on the spring bar toward the band
- Pull that side of the band free of the lug
- Insert one end of the new spring bar into a lug hole
- Slide the lever and seat the other end until it clicks
Older Spring-Bar Swap With a Tool
- Fit a spring-bar tool into the gap between the band and lug
- Press the bar in and lift the band away
- Set one end of the new bar into the lug hole
- Compress the other end and let it click into place
Where to Buy Replacement Garmin Bands
Once you know your system and size, buying a replacement is straightforward. Pinpoint your band size, match the band to your connector, then pick a material for how you actually wear the watch. StrapsCo bands fit the same connectors as Garmin OEM bands, and they cost less than Garmin’s OEM bands.
Pick a Material That Lasts
There are several different materials to choose from when selecting a new watch strap. The one that’s right for you depends entirely on how you use your device. The most comfortable strap for you is going to be the one that suits your unique needs.
- Everyday and sweat: Silicone for hard workouts and water activities, DuraFlex FKM if you want a rubber that resists dust and lint better than silicone
- Runs and outdoor: Nylon is light, breathable, and wicks sweat
- Style swaps: Metal or leather when you want the watch to read sharper during events or at the office

The best band for you withstands everyday wear and complements your lifestyle and style.
What Makes a Garmin Band Wear Out
Garmin bands usually fail at the same few spots, and knowing them helps you avoid a repeat. The keeper loop and the connector pins take the most stress, and stock silicone tends to look worn long before it actually breaks. A replacement is a good chance to upgrade to a material that holds up better.
The Parts That Fail First
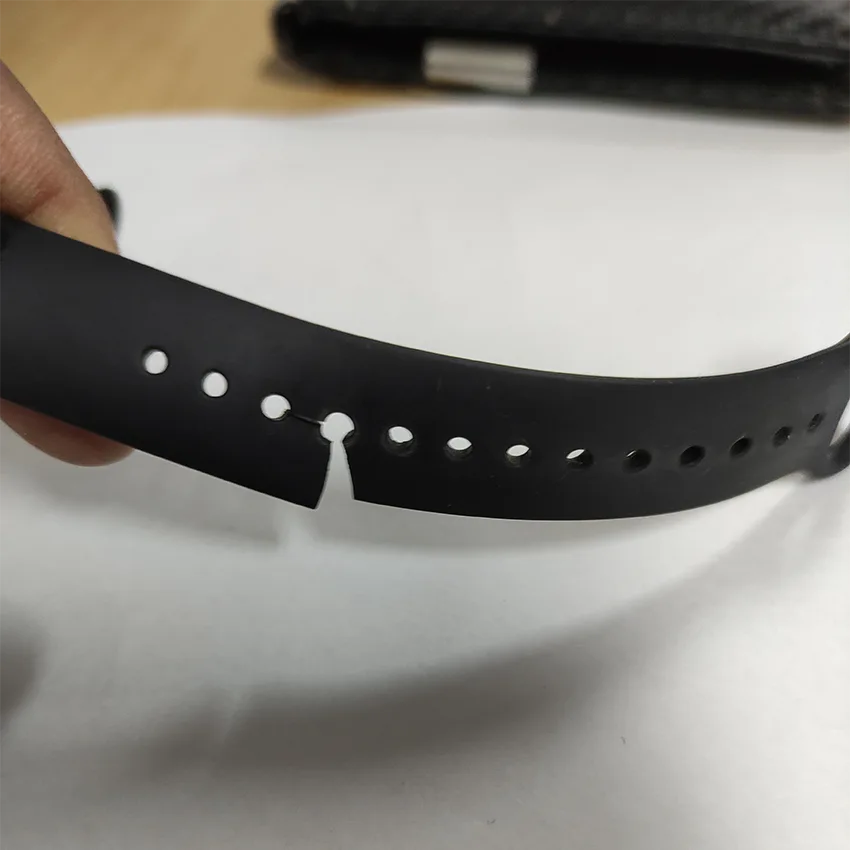
- The keeper loop tears or stretches, so the tail flaps loose or digs in
- Spring-bar pins bend or lose their spring on older models
- Stock silicone traps lint and sweat, so it looks grubby fast
- Nylon and fabric straps can hold onto moisture and start to smell
There are a few ways to mitigate watch strap failure. If you care for your strap and clean it regularly, you can get ahead of the dirt and moisture buildup. Simply rinsing it off and letting it dry fully helps too. You can also upgrade to a more durable material like DuraFlex FKM, which repels sweat, dust, and lint better than silicone.
Get the Right Band on Your Wrist
Once you have spotted whether your watch uses QuickFit or a quick-release pin and matched the new band to your lug width, swapping your band is a breeze! After that, the only real choice is the material that fits how you wear the watch, whether that is silicone for the pool, nylon for long runs, or leather for the office. You can change your strap when it’s worn down or to match your style by occasion.
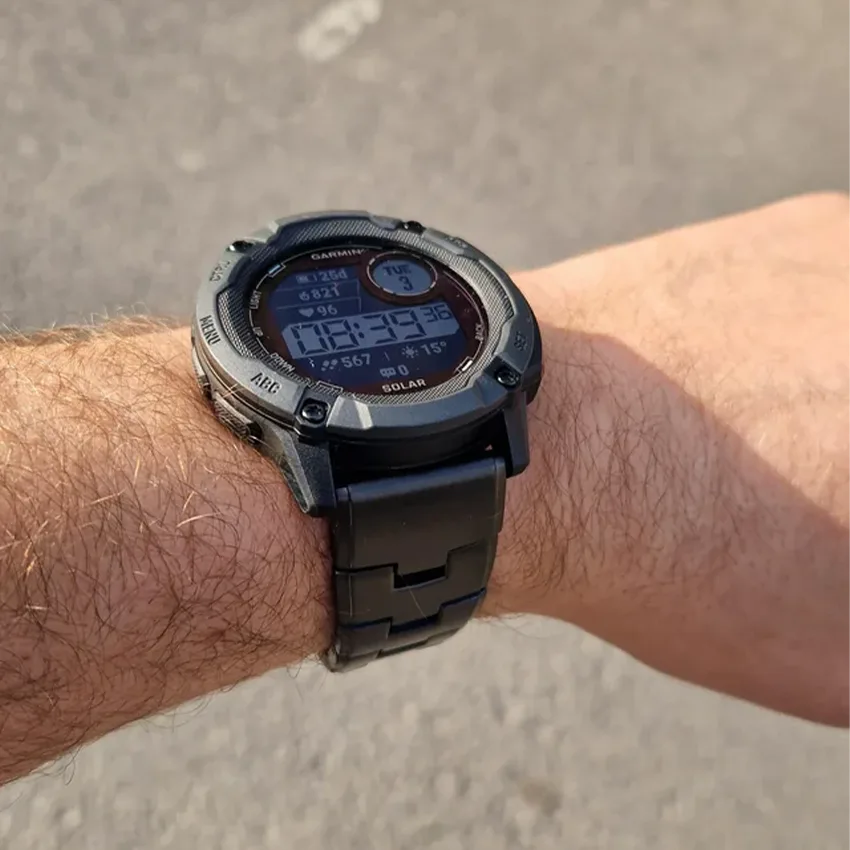
Ready to make the switch? Browse our best-selling Garmin bands to find your replacement. And tell us in the comments: which Garmin are you swapping a band on, and what material are you reaching for next?
Frequently Asked Questions
Can you replace the band on any Garmin watch?
Almost every Garmin watch has a replaceable band, and most swap out in under a minute. The method depends on your connector. QuickFit models like the Fenix and Instinct click on and off by hand, while quick-release and older spring-bar models use a pin you move with your finger or a small tool. Only a handful of fixed-band models are exceptions.
Do you need tools to change a Garmin band?
It depends on your system. QuickFit bands need no tools at all, since they click on and off the adapter by hand. Quick-release bands have a small lever you slide with a finger or nail. Only older spring-bar models need a spring-bar tool, or a small flathead in a pinch, to press the pin in and out of the lug.
Will a third-party band fit my Garmin the same as an OEM band?
Yes, a quality third-party band fits the same connector as the Garmin original. QuickFit bands lock into the same adapter, and standard bands use the same spring bars. What varies is build quality, since cheap connectors can wobble or develop play over time.
How do I know if my Garmin uses QuickFit or Quick-Release?
Look at the spot where the band meets the case. QuickFit shows a wide snap-on adapter with a small lever and no visible pin. Quick-release and older models show a thin metal spring bar between the lugs. If that spring bar has a tiny lever, it’s quick-release. If it has no lever, it’s a standard spring bar that needs a tool.