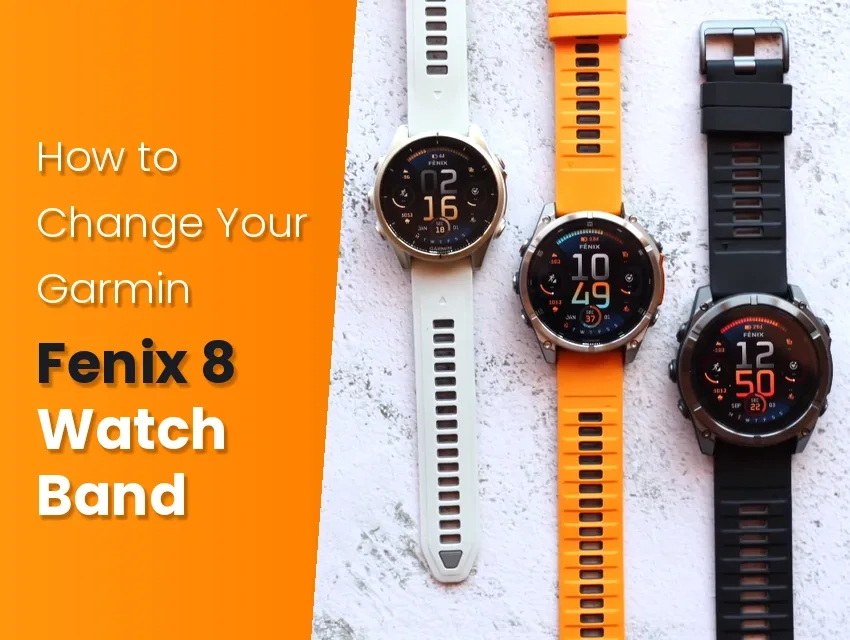
Choosing the wrong strap size or connector type is one of the most common mistakes Fenix 8 owners make when looking for a replacement band. The watch comes in three case sizes, and the QuickFit width changes with the case size, so Garmin users sometimes accidentally order a width that doesn’t match their watch.
We’ll help you avoid that by walking you through how to confirm your case size before you order, as well as strap removal, installation, and the three snags people hit most often.
Key Takeaways
- The Fenix 8 uses Garmin QuickFit, so the band clicks on and off by hand with no tools.
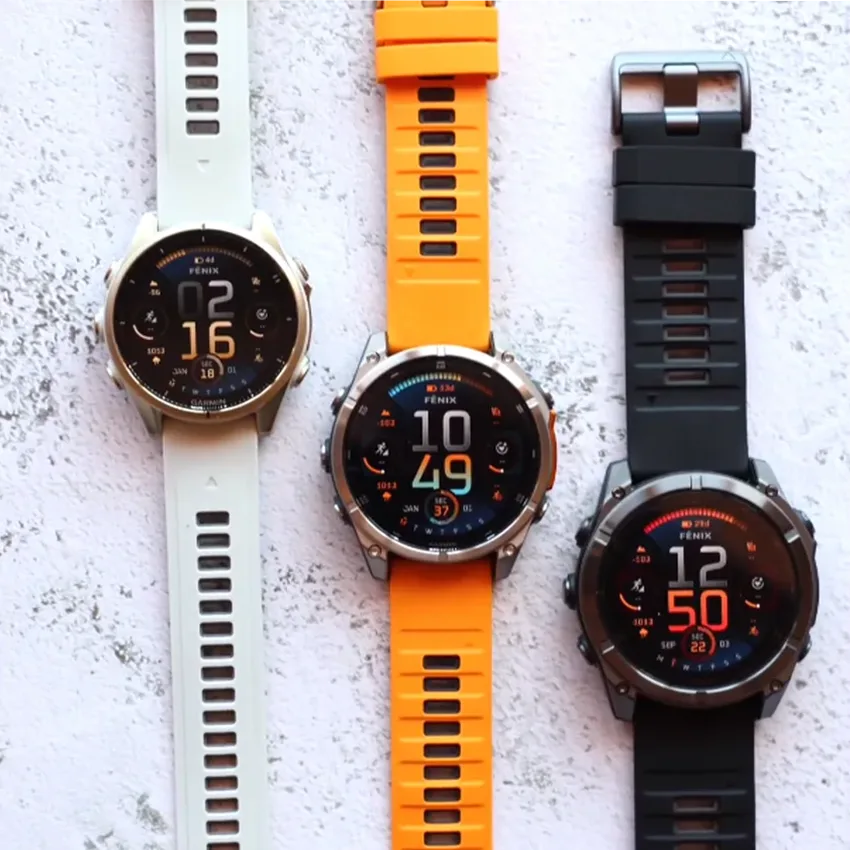
- The 43mm case takes QuickFit 20, the 47mm takes QuickFit 22, and the 51mm takes QuickFit 26.
- QuickFit and quick-release bands aren’t interchangeable.
- To remove a band, slide the latch on the QuickFit connector and lift the band off the watch pin.
- To install, line the connector up over the pin and press down until the latch clicks closed.
Before You Start, Confirm Your QuickFit Size
Get the QuickFit width settled before you order a new band, because this is where most Fenix 8 orders go wrong. The width is tied to your case size, so it isn’t the same across the family.
| Case size | QuickFit width |
|---|---|
| 43mm | QuickFit 20 |
| 47mm | QuickFit 22 |
| 51mm | QuickFit 26 |
Not sure which case you have? Check the lug-width guide for your exact size: 43mm, 47mm, or 51mm. Our Garmin band size chart shows every model’s size and connector in one place.
Why a 22mm Quick-Release Band Won’t Fit a Fenix 8
The 47mm Fenix 8 takes 22mm bands, and so do plenty of other Garmin models. The catch is that the 22mm is only half of the equation. The Fenix 8 watch uses Garmin’s proprietary QuickFit connector, and models like the Venu 3 and Forerunner 265 use standard 22mm quick-release bands instead. QuickFit and quick-release bands aren’t interchangeable because they don’t attach to the device in the same way.
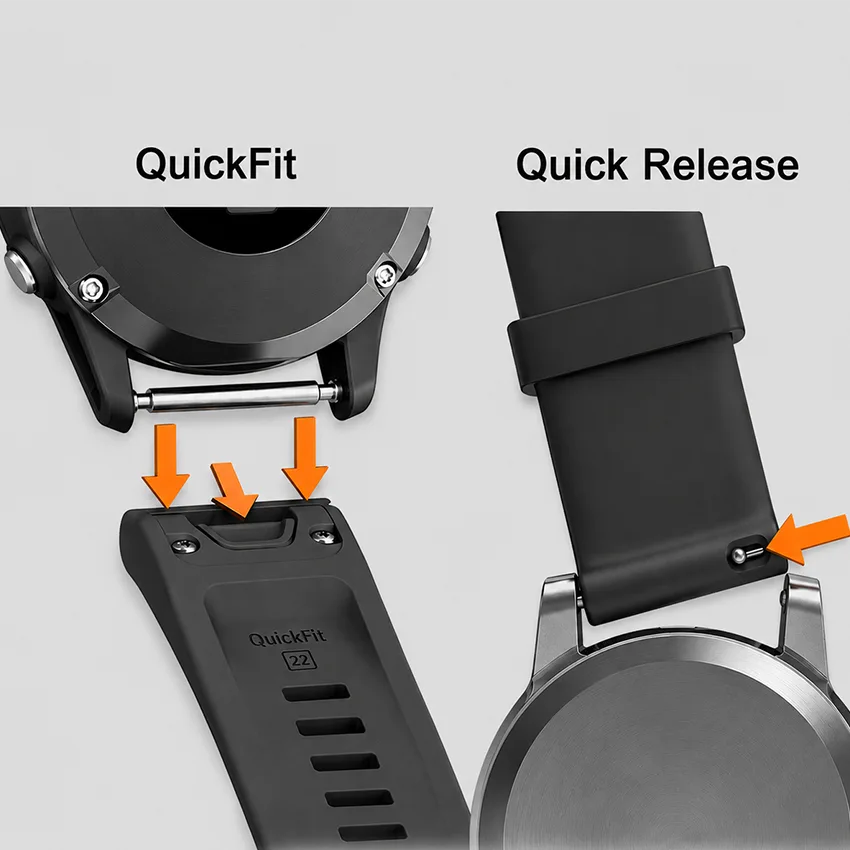
Telling them apart takes a second once you know what to look for:
- QuickFit ends in a flat connector with a sliding latch built into it.
- Quick-release straps end in a thin metal bar with a small lever on the underside.
Your Fenix 8 needs the first one, so check the end of the band in the listing photos, not just the width.
Can You Change a Fenix 8 Band Without a Tool?
Yes, you can change a Fenix 8 watch strap without any tools, because QuickFit is built to be swapped by hand. Each band ends in a QuickFit connector with a small sliding latch on the underside, and that latch locks the band onto a fixed pin between the watch lugs.
The latch isn’t visible while the watch is on your wrist, which is why it sometimes surprises people who are used to a standard spring bar connector. Instead of requiring a spring bar tool, you simply slide the latch with your finger or nail, and the band comes off in your hand.

How to Remove the Fenix 8 Band
Here’s how to remove a QuickFit band:
- Turn the watch face down on a soft surface so you don’t scratch the screen.
- Find the small sliding latch on the underside of the QuickFit connector, right where the band meets the case.
- Slide the latch open with a fingernail.
- While holding the latch open, lift the band away from the case so the connector clears the pin.
- Let the latch go and repeat on the other side.

Common mistake: If the band won’t come off, the latch probably isn’t fully open. Slide it all the way before you lift. Don’t pull harder on the band, because that strain goes straight into the connector.
How to Install the New Fenix 8 Band
Installing just reverses the removal. Here’s how to install the new band:
- Check the orientation. The curve follows your wrist, and the buckle sits underneath.
- Line the QuickFit connector up with the watch pin between the lugs so the band sits square to the case.
- Press the band down toward the case until the latch clicks closed over the pin.
- Give the band a gentle tug to confirm it’s locked.
- Repeat on the other side, then check that both ends sit flush against the case.
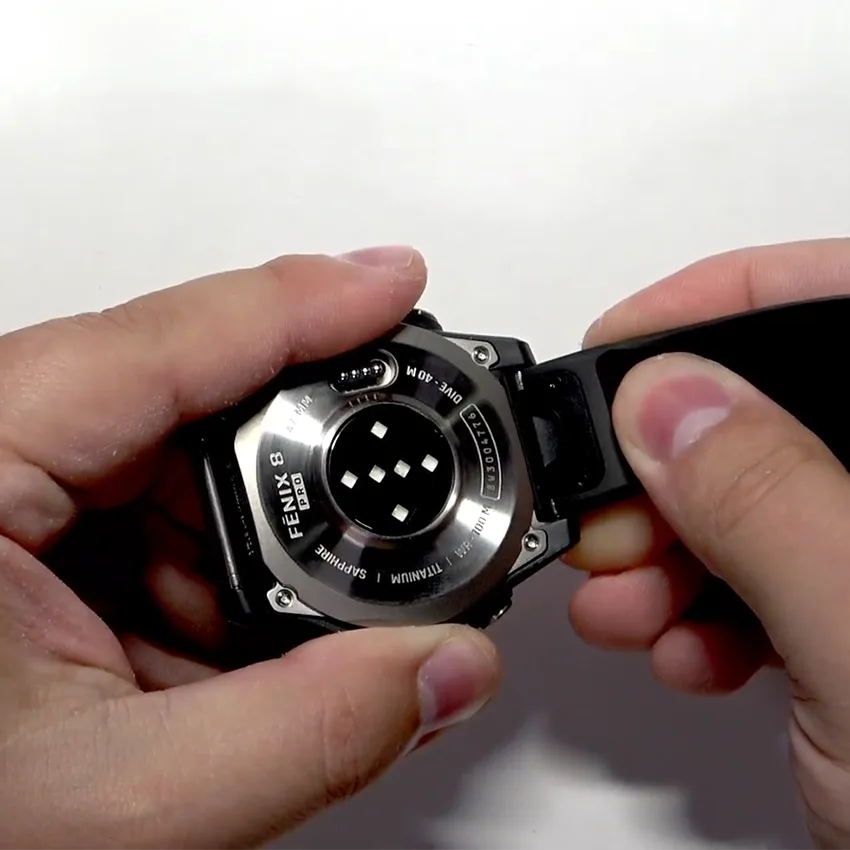
Listen for the click: You should hear and feel a firm click on each side. If the band lifts with light pressure or one end sits higher than the case, the connector isn’t fully seated. Press it down again until it clicks.
Troubleshooting Common Band Swap Issues
These three problems cover nearly every snag after a Fenix 8 band swap.
The Band Wobbles or Feels Loose After Clicking On
The connector isn’t fully seated. Press the band down again on the loose side until you hear and feel a firm click, then tug it to confirm it holds. If it still wobbles after a clean click on both sides, the problem is usually the band itself. Some low-cost QuickFit bands are made with looser connector tolerances, so they can rock even when seated. A well-made QuickFit band sits tight with no play.
The Release Latch Is Stiff or Won’t Let Go
Brand-new Garmin watch straps can have tight QuickFit connectors, which loosen up a bit after a few swaps. Use steady pressure with your finger or nail, and let the latch open fully before you lift the band. Don’t pry it with a knife or a screwdriver, because that can gouge the case and bend the latch. If a latch is truly jammed, check the connector for any grit or dirt, gently clean it out and try again.
Your New Strap Won’t Fit Your Fenix 8
If a new strap won’t click into place, either the width or the connector doesn’t match your watch. Pressing harder won’t fix it, so check both before you try again.
Start with the width. Turn the band over and look for the millimeter number stamped near the connector end. That’s the lug width the band is made for, and it needs to match your case: 20mm for the 43mm, 22mm for the 47mm, and 26mm for the 51mm. Not sure which device you have? Check the case back or your device details in Garmin Connect.
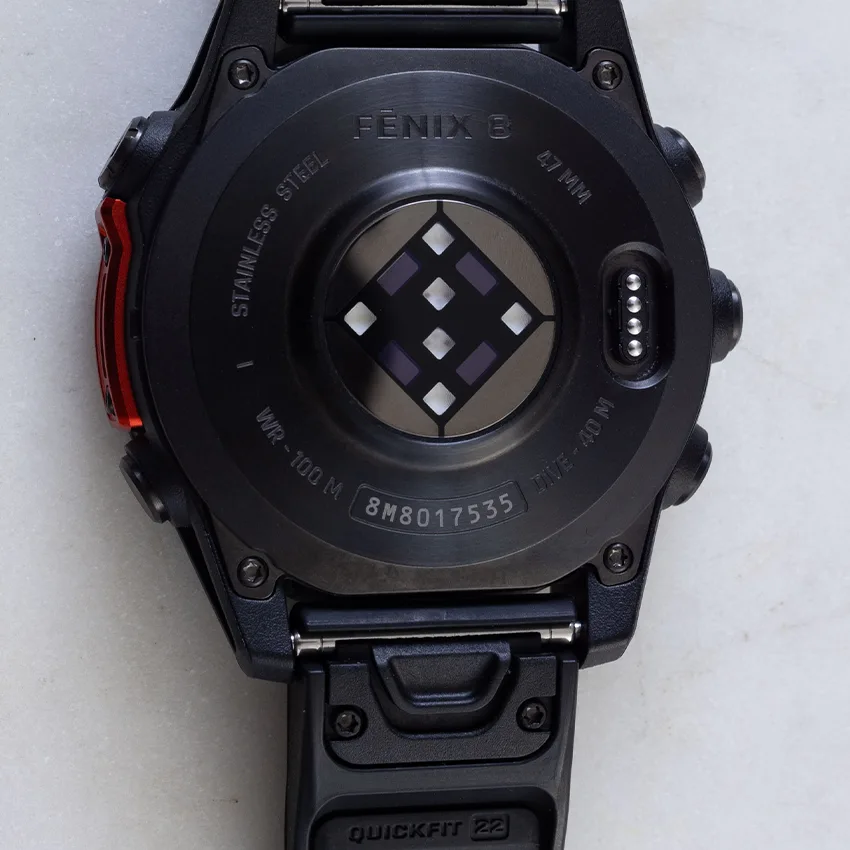
Then check the connector. A Fenix 8 band has to end in a flat QuickFit connector with a sliding latch, not a thin metal bar with a lever. A 22mm quick-release band won’t attach to a 47mm Fenix 8, even though the width is right.
Our guide on how to know your Garmin strap size walks through each check step by step, including how to measure the gap between the lugs if your strap doesn’t have the lug width stamped on.
Choosing a Replacement Band
Since any QuickFit band in your width fits, you aren’t limited to what came in the box or to Garmin’s own range.
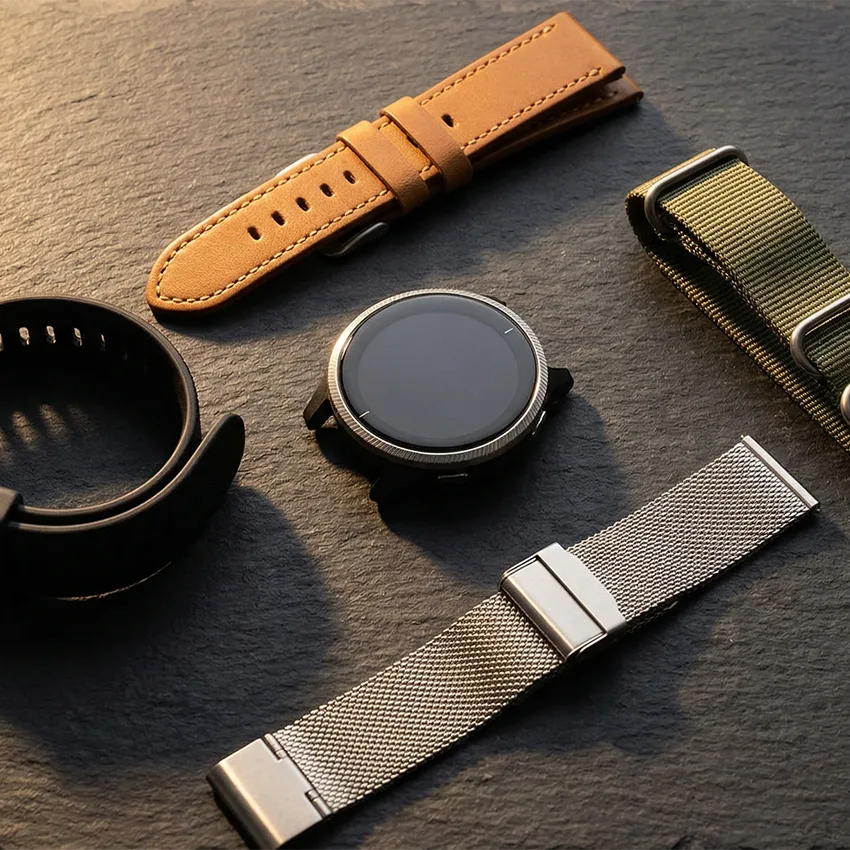
Because the connector does the work, you get to compare Garmin strap material based on how you use the watch. Silicone and FKM rubber are the everyday choice for training, because sweat runs off them and they rinse clean in seconds. Nylon is best for hot weather and long runs because it dries quickly. Leather and metal are better choices when you’re traveling or at the office. If you’re torn, our guide to the best Garmin watch band breaks down each material by activity.
Band Care After Installation
Once the new band is on, a little care keeps it from smelling and wearing out early.
These three habits make a band last longer:
- Rinse it with fresh water after every sweaty session or pool day, then brush any lint out from around the connector.
- Let it dry all the way before you store it or wear it overnight for sleep tracking, since trapped moisture held against your skin can lead to irritation.
- Keep the band out of long, direct sun when you can, because heavy UV can fade color and dry out silicone over time.

When to Replace vs Repair a Garmin Fenix 8 Band
There are many reasons why Garmin bands break or wear out over time. Silicone attracts dust and can look dirty after months of consistent wear if it’s not cleaned regularly, and nylon can start to smell after too many sweaty workouts between washes.
Sometimes the damage is structural, and the band cracks or stretches. When the keeper loop starts cracking, the QuickFit connector splits, or the connector is no longer attaching well, it’s time to replace your band.

Every few months, check the connector for wear. Hold the watch case steady in one hand, then gently wiggle the band right next to the connector with the other. A connector in good shape doesn’t move at all. If you feel any wiggle or hear a rattle after repeatedly attaching it correctly, it’s time for a new band.
Your Fenix 8 Swap Is Done
Garmin’s QuickFit connector makes Fenix 8 band swaps simple. Once you know where the latch sits, a swap takes seconds, so it’s easy to keep one band for training and another for everyday wear. Just make sure any new band matches your case size and ends in a QuickFit connector.
Frequently Asked Questions
Does the Garmin Fenix 8 use QuickFit or spring-bar bands?
The Fenix 8 uses the Garmin QuickFit connector, not quick-release spring bars. This is a common mix-up, since quick-release is standard on many watches and Garmin devices. QuickFit is different, because each band ends in a connector with a sliding latch that clicks onto the watch pin by hand.
What QuickFit size does the Fenix 8 take?
The 43mm Fenix 8 takes QuickFit 20, the 47mm takes QuickFit 22, and the 51mm takes QuickFit 26. The width is tied to your case size. A band that fits a friend’s 51mm won’t fit your 47mm, so confirm your case size before you order.
Do all three Fenix 8 sizes use the same band?
No, they don’t. Each case size takes its own QuickFit width, so a band that seats perfectly on a 51mm will leave gaps or refuse to seat on a 47mm or 43mm.
Do I need a tool to change the Fenix 8 band?
No, you don’t. QuickFit is built to be tool-free, so there’s no tool required. You slide the small latch on the QuickFit connector with your finger or nail, and the band lifts off the pin. To put a new one on, you line the connector up and press until it clicks.
Why does my Fenix 8 band feel loose or wobble?
Most of the time, if the band feels loose, the connector isn’t fully clicked on. Press the band down again until you hear and feel a firm click, then tug it to check that it holds. If it still rocks after a clean click on both sides, the band may have loose connector tolerances. A well-made QuickFit band seats tight with no play once it clicks.