Before we begin, determine which size Apple Watch you have, and by extension, what size band you will need. The Series 4 and Series 5 models are available in 40mm and 44mm sizes, and the older models (Series 1, Series 2 and Series 3) are available in 38mm and 42mm sizes. Note that bands for 38mm and 40mm devices are compatible with each other, and bands for the 42mm and 44mm devices are compatible with each other.
If you are unsure, the model and size of your Apple Watch will be featured prominently on the side of the box it came in. For more information on determining the size of your Apple Watch, visit Apple’s support page found here.
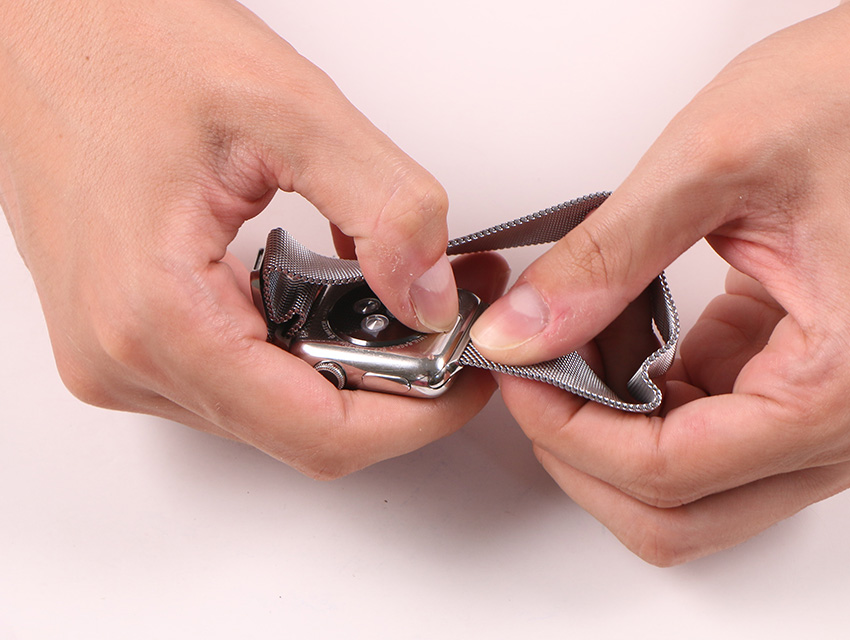
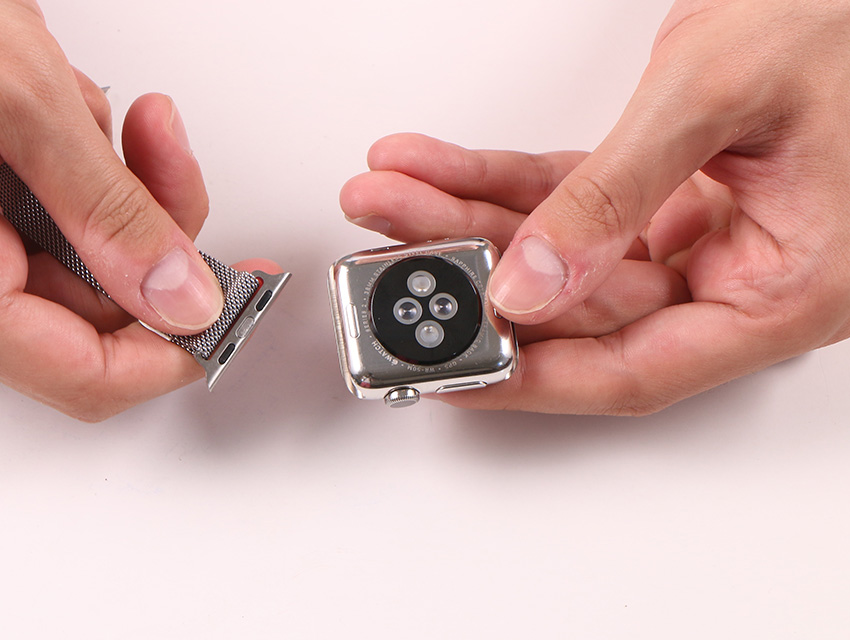
STEP 1 – REMOVING THE OLD BAND
To begin, locate the band release button located on the backside of your Apple Watch, near where the band is connected.

Hold down the band release button while simultaneously sliding the band sideways in either direction.
The band should easily slide out of the groove in the Apple Watch.
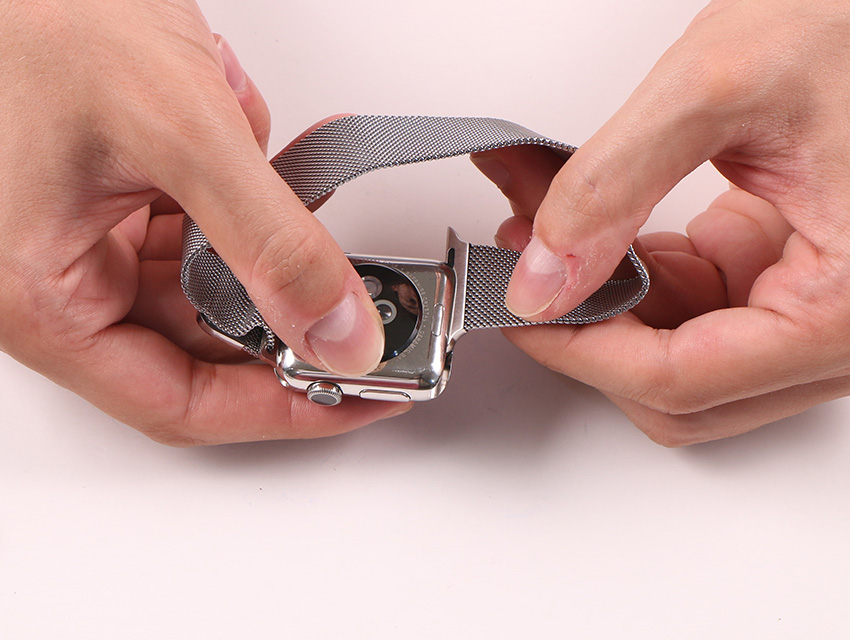
One end of the band should now be removed from the Apple Watch.
Repeat the previous steps for the other end of the band, until the old band has been removed completely.
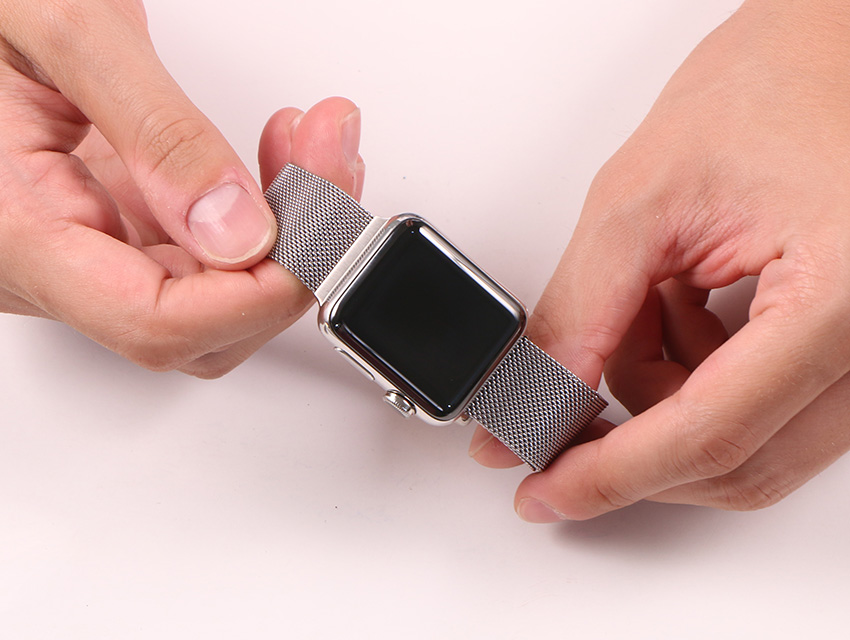
STEP 2 – INSTALLING THE NEW BAND

To begin the installation, simply slide the new band into groove in the Apple Watch. The band release button does not need to be held for this process.
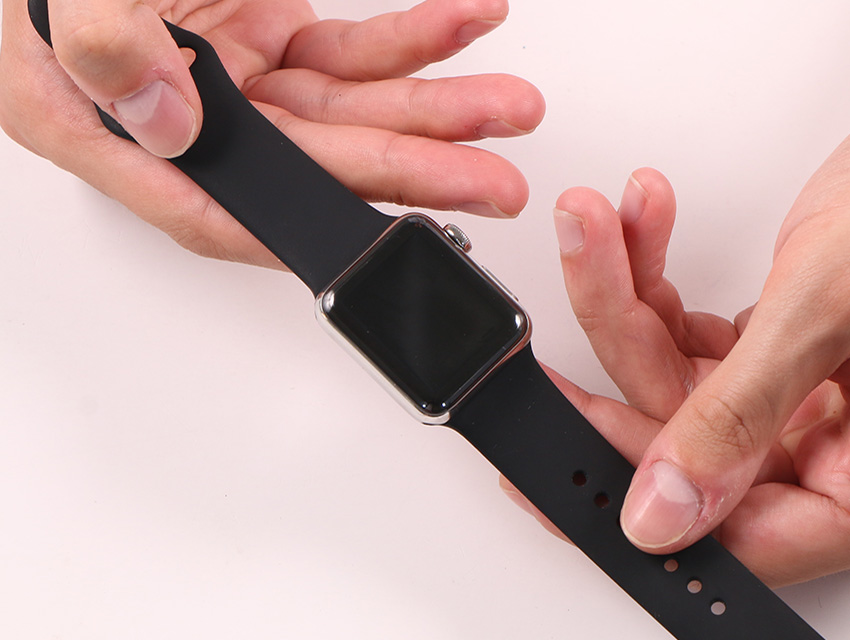
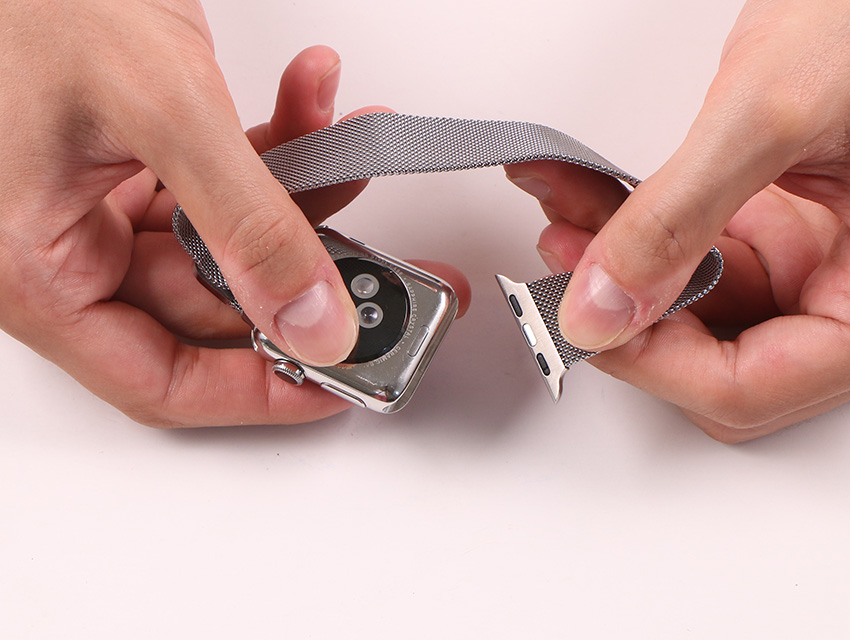
Repeat the previous step until both ends of the new band have been installed. Gently attempt to slide each end of the band side to side to ensure a secure installation.